
Choose the position
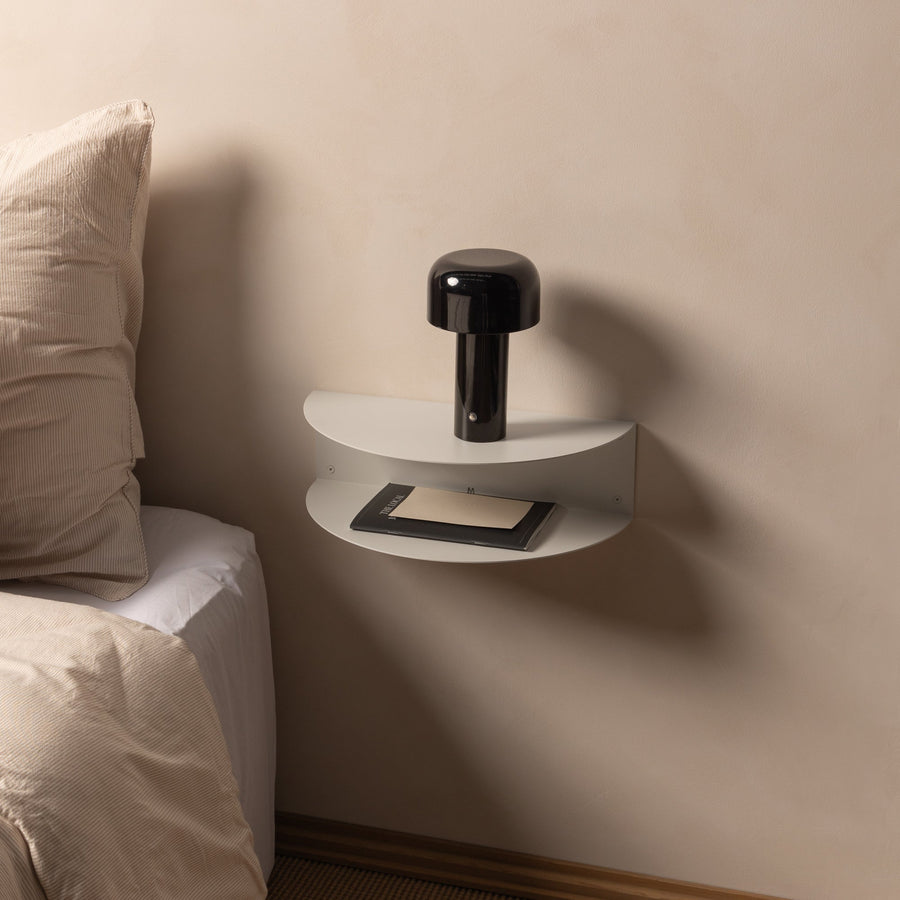
Choose a comfortable bedside height, allowing room for your bed and access to both levels.
Installation guide
A step-by-step guide to installing your FOLD Bedside Table 400.
400 wide × 200 deep × 120 high mm · 2 mm aluminium
Your FOLD Bedside Table 400
4 10g × 30 mm countersunk screws
Supplied plastic wall plugs · 6 × 30 mm
Powder-coated screws for powder-coated finishes. Anodised screws for anodised finishes, where available.
Identify your wall construction and check for concealed services before drilling. The product details state up to 10 kg when fixed into nogs / a stud. For other wall types, ask a qualified installer to select suitable fixings.
For positioning: pencil, measuring tape and spirit level. The supplier specifies a 6 mm drill bit for the supplied plugs; drill to a depth of 40 mm.
4 countersunk mounting holes. Mark fixing positions using the actual product. This illustration is not a drilling template.
Choose a comfortable bedside height, allowing room for your bed and access to both levels.
Hold the actual product in position and check that it is level. Mark all 4 mounting-hole positions through the product. Do not use the illustration as a template.
Use fixings suitable for your wall construction. For the supplied wall plugs, drill 6 mm diameter holes to a depth of 40 mm. Clear drilling dust from each hole, then gently tap the plugs in with a rubber mallet until flush with the wall.
Support the product while securing it through all 4 mounting holes. Check that it is level and secure before use.
Insert the supplied 10g × 30 mm screws through the mounting holes into the plugs. Tighten evenly with a hand screwdriver, or use a drill-driver on a low speed and low torque setting. Finish tightening by hand until the shelf sits firmly against the wall. Take care not to overtighten or strip the screw head.
Entries open soon. Please try again shortly.